Below is our Music Video:


Below are the front panels of our digipak:

Below are the outside panels to our digipak.

Below are the outside panels to our digipak.

Below are the inside panels to our digipak.

Below are the inside panels to our digipak.

Click on the image below to access our website.

Friday 10 November 2017

R+P Post 33: Reflections on my role and contribution during Research and Planning

Overall, I feel very confident about what our group has accomplished in the research and planning stages of the process and I feel that we are well equipped to progress with the process. I've enjoyed the process thus far.

Here is what I have contributed to the research and planning so far:

Planning the video
  • I contributed various tracks when we were deciding on what song to go for, including the song that we are using now.
  • I thought of and drew some of the shots for our storyboard and timeline.
  • I helped with casting and getting the costume for the video. 
  • Aisha and I made and edited the screen test.
  • Edited some of the rough cut.
Planning the website/ album cover:
  • Researched examples and presented ideas for both website and album cover. Such as:
During test shoot:
  • Considering I was not in any of the test shots I did the bulk of the filming and some of the lighting work.
  • I helped to arrange costume.
  • Tested out our shot ideas such as the siren shots.
gifs website

Overall I believe that we all contributed an equal amount to the project and worked well as a team. I am looking forward to the stages to come.

R+P Post 32: Test shoot and rough edit

The test shoot was a very important part of the planning process as we were able to bring our ideas to life and see how they worked individually and how they worked together to make an effective music video. Here is our test video:


Here is the test shoot schedule that we used, we wrote down the various set ups and shots we needed to get.


A key aspect we were testing out in our test shoot was the various lighting set ups and the projector set up. Testing it before hand is very useful as it meas we can know what will and wont work when making the real video and it will also be much easier when we make the real video.


We also needed to test the handheld camera shots as we thought the aesthetic we could achieve from handheld shots would suit what we were going for.

Still of handheld DJ shots
The test shoot and the rough edit were both very useful as it allowed us to see how our ideas worked together and it highlighted the main issues that we may have faced later. Some of the issues we faced are:
  • Projections- we had to ensure we used a good quality projector and image as lower quality videos would flicker when on camera.
  • Handheld camera- the closer I got when filming the more prevalent the shadow.
  • Lighting- sometimes when we used darker colours for the lighting, the subjects in the video wouldn't be visible. 

R+P Post 30 & 31: My shoot-board/ call sheet


This document doubled as our shootboard and call sheet for our  studio test week. It neatly laid out all of the shots and setups that we wanted to get and allocated a time to achieve said shot. We also were able to allocate time to try variations of the shots and see what worked well. It was a call sheet as we put in when everyone was available and would be in the studio, this made it easy to plan what we could do as we would know who would be available to do a certain type of shot. Also when we were there by ourselves we would be able to setup for shots in the future.

Overall we all found this document very useful as we could easily plan out what we would do and when we do it. Also it meant that we could easily communicate with the teachers and technicians our availability, when we would be using the studio and what we planned to do.

R+P Post 29: Rehearsals

In order to ensure that we were ready to make a professional looking music video we had rehearsals to practice our performance.

Although I was not going to be lip syncing in the video, it was still important to us as a group to properly research lip syncing to gain tips and insight that would help us make a better media product. Below is a video we used to research the are of lip sync:


We used rehearsals to plan out the types of shots we wanted to get and the intricacies we wanted to capture in each shot to further enhance the quality of the video.

Below is a behind the scenes still from one of our rehearsals.


Although I was not acting in this section of the video, I felt the rehearsal was very useful as it gave me an opportunity to rehearse the various shot types and camera movements and allowed us to make creative decisions whilst also being able to test the final outcome. The rehearsals also allowed us to test out costume and props and see if they fit with the general aesthetic of the video.

R+P Post 28: My kit list

For our shoots we had 2 different sets of kit for the studio and for shoots on location.


This is the kit that we used on location:
  • Canon Legria HFG30 Camera
  • Libec TH-650HD Tripod
  • Canon DM-100 Microphone
  • Sennheiser Headphones
  • 64 GB SD card
  • Two batteries
  • Clapperboard
  • Whiteboard Pen and Wipe

This is the kit we used in the studio:

  • Canon 5D MK 2 Camera
  • 650 ARRI Turret Lights
  • ARRI Studio Lights
  • Projector
  • Cyclorama
  • Monitor
  • Samsung TV
  • Shoulder support rig for hand held sots
  • Lighting and Sound desk


During our test shoot we were briefed on all of the equipment and taught how to use it effectively and safely, we were also taught to safely pack and unpack all of the equipment. I really enjoyed using the equipment in the studio as the quality achieved through it is of a great satandard.

R+P Post 27: Casting

Casting was very important for both the performance aspects of the video and for the narrative aspects of the video. When looking for actors we actors we needed to think about who would fit the style we were trying to portray and also would would appear natural and authentic in the video. Here is a cast list:

Ray
Aisha
Kodie
Abigail
Sena
Budmi
Ayisha
Sadek
Sayo
Mel
Laith

R+P Post 26: Set design, locations and props

As well as shooting in the studio, we plan to have many performance and narrative shots on location. Here are some of our planned locations:

Here we plan to use the pathway that splits into two in order to add to the narrative.

Here is a wall with graffiti that we plan to use as a backdrop for performance shots.

Here is a car park that we plan to use for individual and group shots.

For the set design in the studio we have some key shots:
  • Ray and Aisha (sound desk, laptop, table and stool)
  • Ray DJ (sound desk, laptop, table)
  • Sofa shot (Group, band and individuals)
  • Projector shots
Example of sofa shots
Ray and Aisha


The props that we need to effectively create these shots and make them look authentic and realistic are:
  • Phone
  • Headohones
  • Sofa
  • Sound desk
  • Table
  • Laptop
  • Stool

R+P Post 25: Costumes, props and make-up

Costumes are very important as it helps to create the look of the artist and it allows us a way to really signify that we are adhering to  youth subculture. We are sticking to a 90s vintage sportswear theme and it was very important to us to create the right aesthetic for our music video. For the overall costume theme we intentionally planned to have "street wear" costume that matched the type of locations we were filming at. These were brands such as Nike and Adidas.

General Costume theme

When researching DJ costumes we found that it was often relatively simple and usually involved plain t-shirts, coats/ hoodies and headphones.

DJ Costume
The choice of Make-up was very important as it helps add to the identity of the artist, makes them look younger, cooler and more appealing and it also matches the conventions of our target audience.

Here is the inspiration we had for the makeup, we felt it was important to have vibrant colours that popped and looked appealing
Props were very important as they helped to further the performances and make them look more realistic.
The props we used were: a phone, a pair of headphones and a sound desk.

We hope the costume, props and makeup all allow us to effectively convey the genre and our artists.

R+P Post 24: Planning my digipak panels

We all had different ideas for what we wanted for the digipak and decided to draw them out and see how they work. As we interviewed different members of our 16-24 year old target audience, we adapted some of our ideas in relation to what they said.

Here are our designs:

These are some of the initial designs that we had for our album cover. We initially intended for both artists to feature on the front cover, with props and a mid shot.


From our target audience feedback we found out that many liked the idea of having a central close-up of our female artist as the focal image was great for a debut album. Similar to the likes of Adele and Kali Uchis.


After sharing our ideas and looking at real digipaks we saw some overarching themes and decided to focus on those. Here are some of those ideas:
  • One central close up of the artist on the front panels.
  • Cloud like background
  • Light colours
  • Large artist name
  • Smaller font for the album/song name
  • Tracklist on the back
Here are some of the albums and singles we looked at for inspiration: 

Image result for drumaq neverlandImage result for drake nothing was the sameRelated image

Monday 6 November 2017

R+P Post 23: Planning my web pages

The website is very useful and important as it is a way of marketing the artist and their work, it also creates a platform where the fans can engage further with the artist by buying things such as merchandise, getting the artists contact details and reading more about the artists' history. We also conducted audience research to see what our target audience expected of a webpage from an artist that appeals to them.


As a group we designed the menu bar for the website which includes the band logo in the middle and various links throughout. This menu bar will be seen on every page so we wanted to ensure that it contains links to the important pages. Here are the different pages:

  • Home: The first page that is seen when clicking on to the website, all of the information is here. The most current music video will also be featured here.
  • Music: Where the consumer will be able to purchase the album and individual songs, both physically and digital downloads. There will also be an insight into the songwriting process and the inspiration of songs. Music videos will also be featured here and new songs will be teased. 
  • Tour: Location and dates for tours are featured here also the consumer will be able to buy tickets through other websites.
  • About: Gives personal information about the artists and their background.
  • Shop: The consumer will be able to buy the artists merchandise such as T-Shirts, jumpers and posters.
  • More: More will contain the gallery, social media contacts of the artist & label and news about the artist and label.

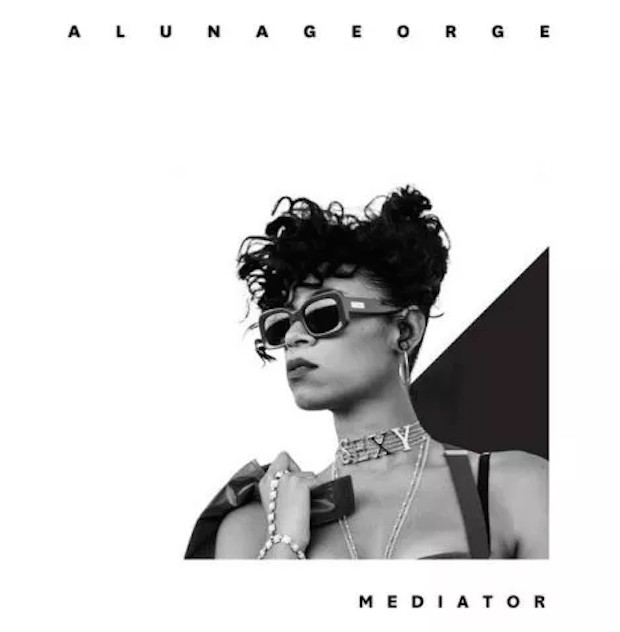
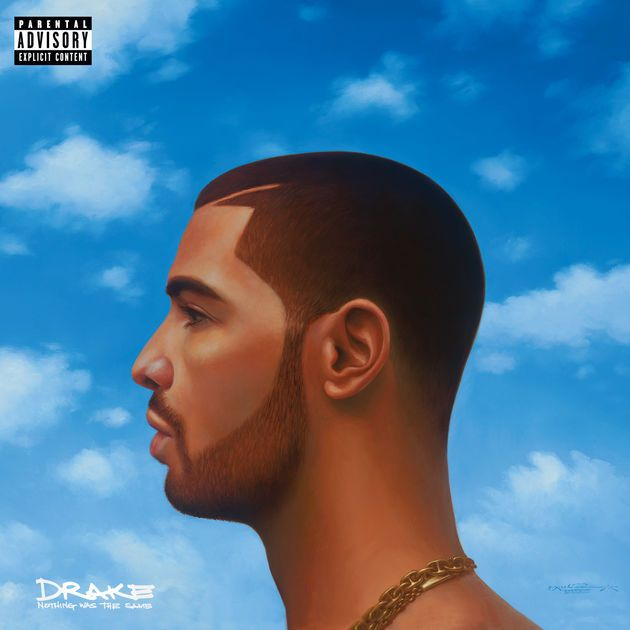
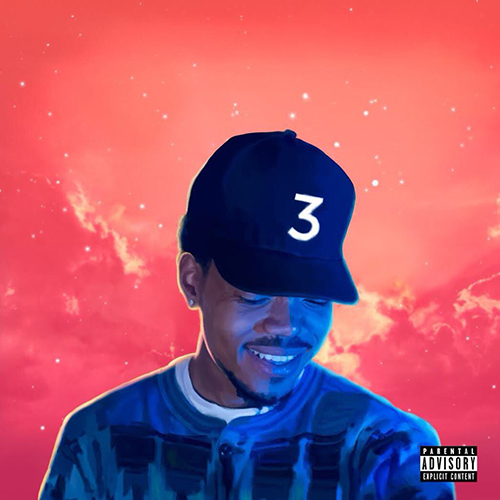
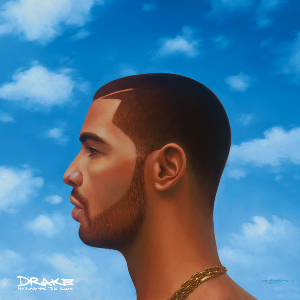
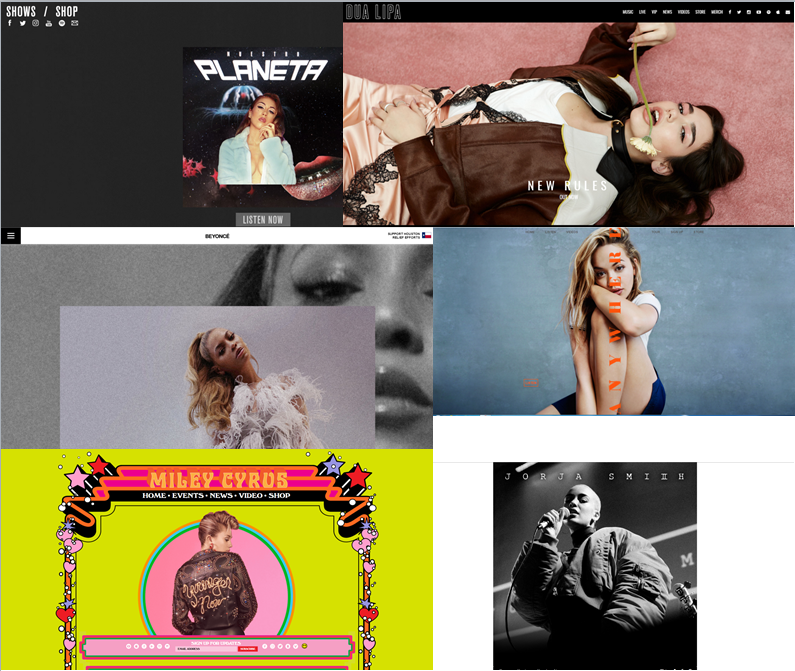
We conducted research on similar artists and their websites. Although all the websites are different there are some key conventions that run through all of them such as a large focal image, a menu bar that runs along the top, behind the scenes footage and promotional shots.

Here are some of the examples that we looked at.
The people we interviewed stated how they liked the idea of a central and ever-present menu bar that allowed for different pages to instantly be accessed. Both this and the examples we had looked at gave us greater motive to create a menu bar as seen below.


This is the shop page we designed for our website.


We used our audience research to find out what sort of merchandise our target audience would want, this led us to add phone cases and backpacks.

R+P Post 22: Planning my promo shots

The promo shots are very important as they reflect the image of the duo, it is therefore very important to reflect their different personalities through poses and costume. As the audience are buying into the brand of the artist, it is very important that the artist is relateable and is able to grab the audience's attention.

We felt that the choice of costume and location was very important for representing our artists identity which is very influenced by London; in terms of the locations, fashion and general youth culture.


I think these promo shots effectively convey the type of shots that we hope to recreate as they are both serious but also playful which is the image we are trying to convey for our artists.

R+P Post 21: My key shots storyboard

This is the storyboard which contains all of the key shots from our music video.


Our key shots on the storyboard were colour coded based on the type of shot we planned to use. This gave us a clear idea of what types of shot we wanted to use and allowed us an easy way of being able to tell the balance of different types of shots that we had. This was very important as a common convention of music videos is a wide range of shot types throughout the video.

Our storyboard consists of key shots for the studio shoots and for location shoots. We thought it is very important to plan out our narrative shots on location as we wanted to ensure that we were able to convey a narrative that was coherent and complimentary to the rest of the video.

Overall the storyboard that we created was very useful as it allowed us the ability to portray our ideas to the rest of the group and see how the ideas would all work together. It also gave us a general idea for what we wanted in our video which was useful when making the steal-o-matic.